Transplanting is the moment all your careful seed-starting work either pays off or gets undone in a few careless minutes. Seedlings are at their most vulnerable during this transition, but a few specific techniques dramatically improve the odds of a smooth, low-stress move into their permanent growing spot.
Before Transplanting: Prerequisites
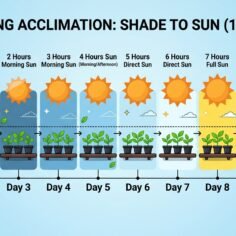
Harden off first. Seedlings raised indoors need a 7–10 day gradual acclimation to outdoor sun, wind, and temperature before their final transplant — skipping this step is one of the most common causes of severe transplant shock, independent of how carefully the physical transplanting itself is handled.
Check the timing. Transplant outdoor-bound seedlings only after your last frost date has passed (with an appropriate buffer for tender plants), and once soil temperature is warm enough for the specific crop, since cold soil stunts root establishment even in otherwise healthy transplants.
Water seedlings a few hours before transplanting, not immediately before. Well-hydrated but not waterlogged soil holds together better around roots during the transplanting process, and a well-watered seedling handles the stress of transplanting better than a stressed, underwatered one.
Prepare the planting site first. Dig holes, amend soil, and have everything ready before removing seedlings from their containers, minimizing the time roots spend exposed to air and light before being settled into their new spot.
Step-by-Step Transplanting Process
1. Choose the right time of day
Transplant in the early morning or evening, avoiding the heat and intense sun of midday, which stresses seedlings further during an already vulnerable transition. An overcast day, if timing allows, is even better than a sunny one.
2. Remove the seedling carefully
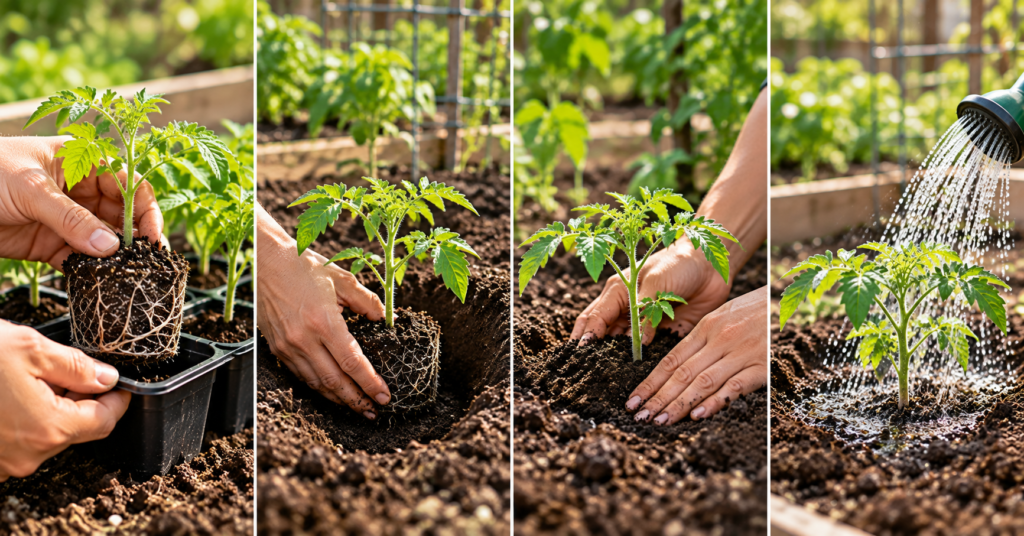
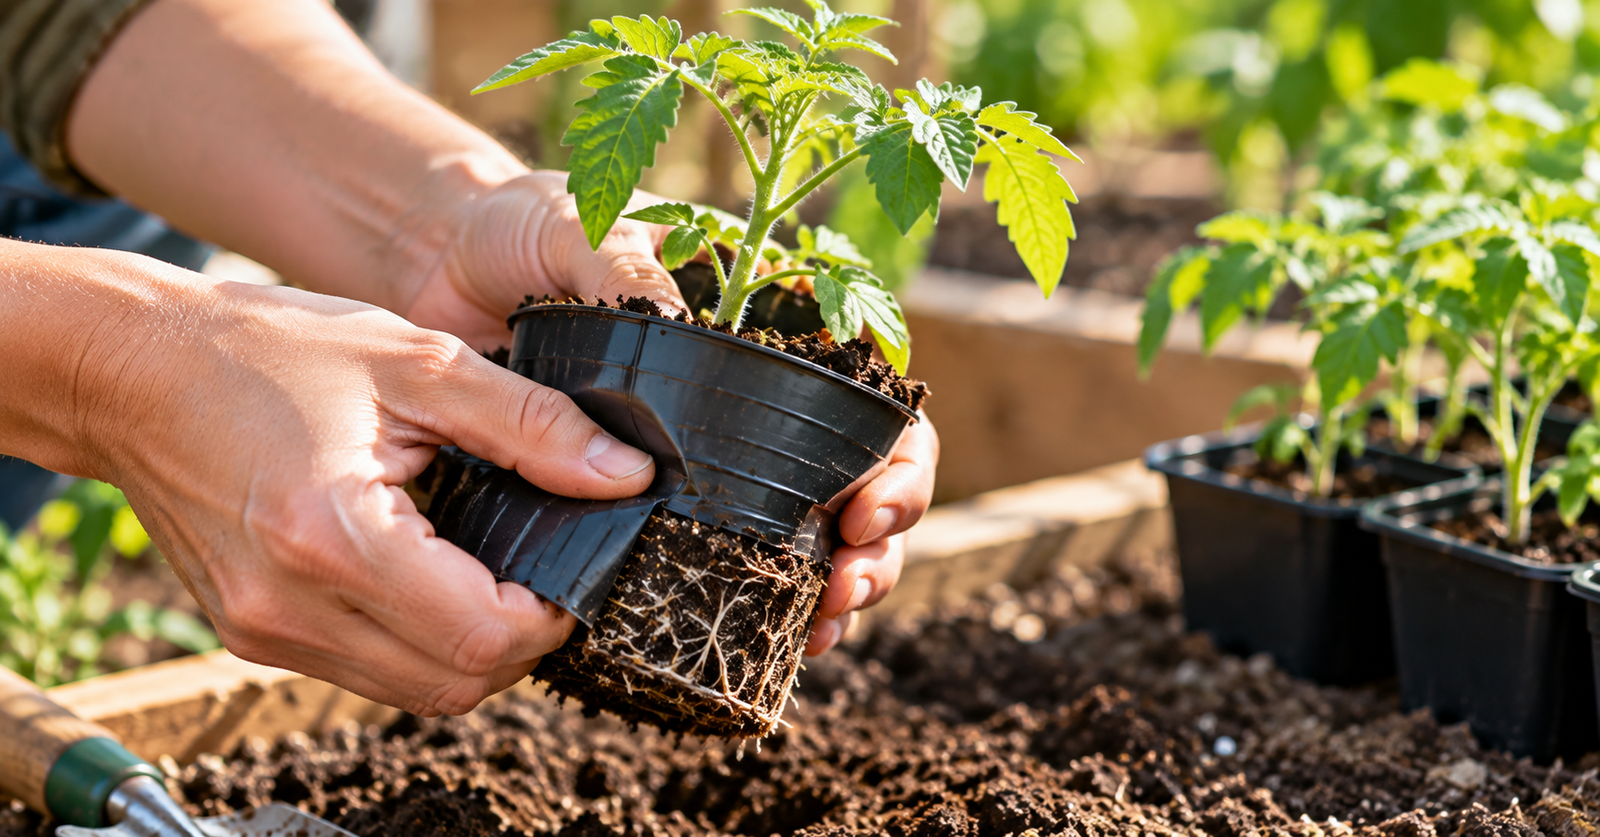
Gently squeeze the sides of a plastic pot or cell to loosen the root ball, then tip it sideways and ease the seedling out, supporting the stem and root ball rather than pulling on the plant itself. For biodegradable pots, most can be planted directly (sometimes with the bottom torn away first to encourage roots to grow through more easily), avoiding root disturbance entirely.
3. Inspect and gently loosen roots if rootbound
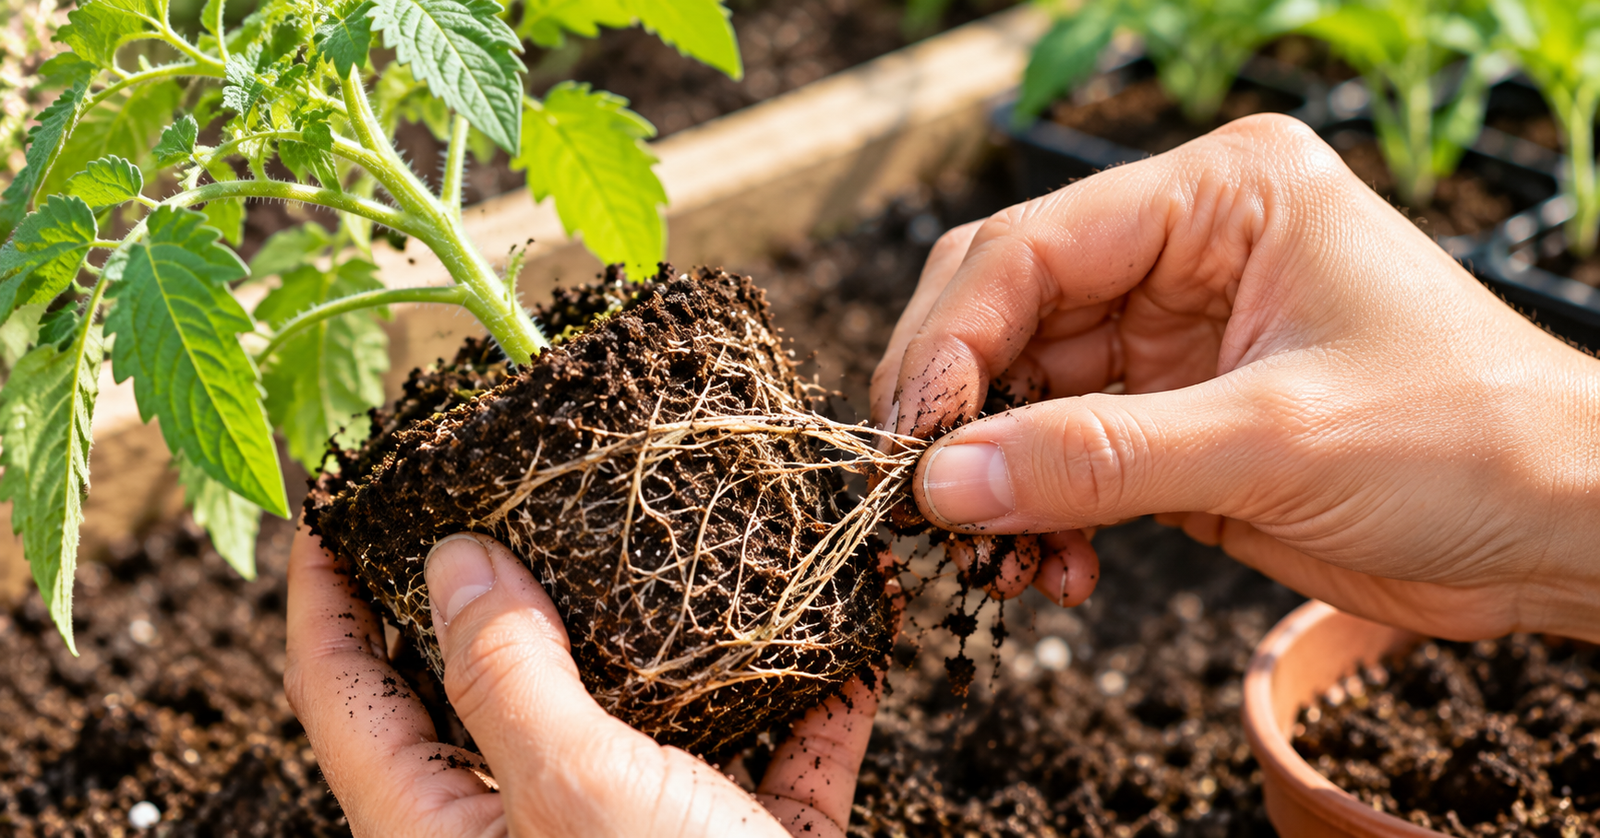
If roots are densely circling the bottom of the root ball (a sign of being slightly rootbound), gently tease them apart with your fingers before planting. This encourages roots to grow outward into the surrounding soil rather than continuing to circle in the same pattern they developed in the confined pot, which can otherwise restrict the plant’s growth even after transplanting.
4. Plant at the correct depth
Most seedlings should be planted at the same depth they were growing in their container, with the exception of tomatoes, which benefit from being planted deeper — even burying a significant portion of the stem — since tomatoes readily grow additional roots from any buried stem section, resulting in a stronger overall root system.
5. Backfill and firm gently
Fill in around the root ball with soil, firming gently to eliminate large air pockets without compacting the soil so much that it restricts root growth. Air pockets left around the roots can dry them out faster than properly settled soil would.
6. Water immediately and thoroughly
Water right after transplanting, even if the soil seemed adequately moist beforehand, to help settle soil around the roots and eliminate any remaining air pockets, while also reducing transplant stress overall.
7. Provide temporary shade if needed
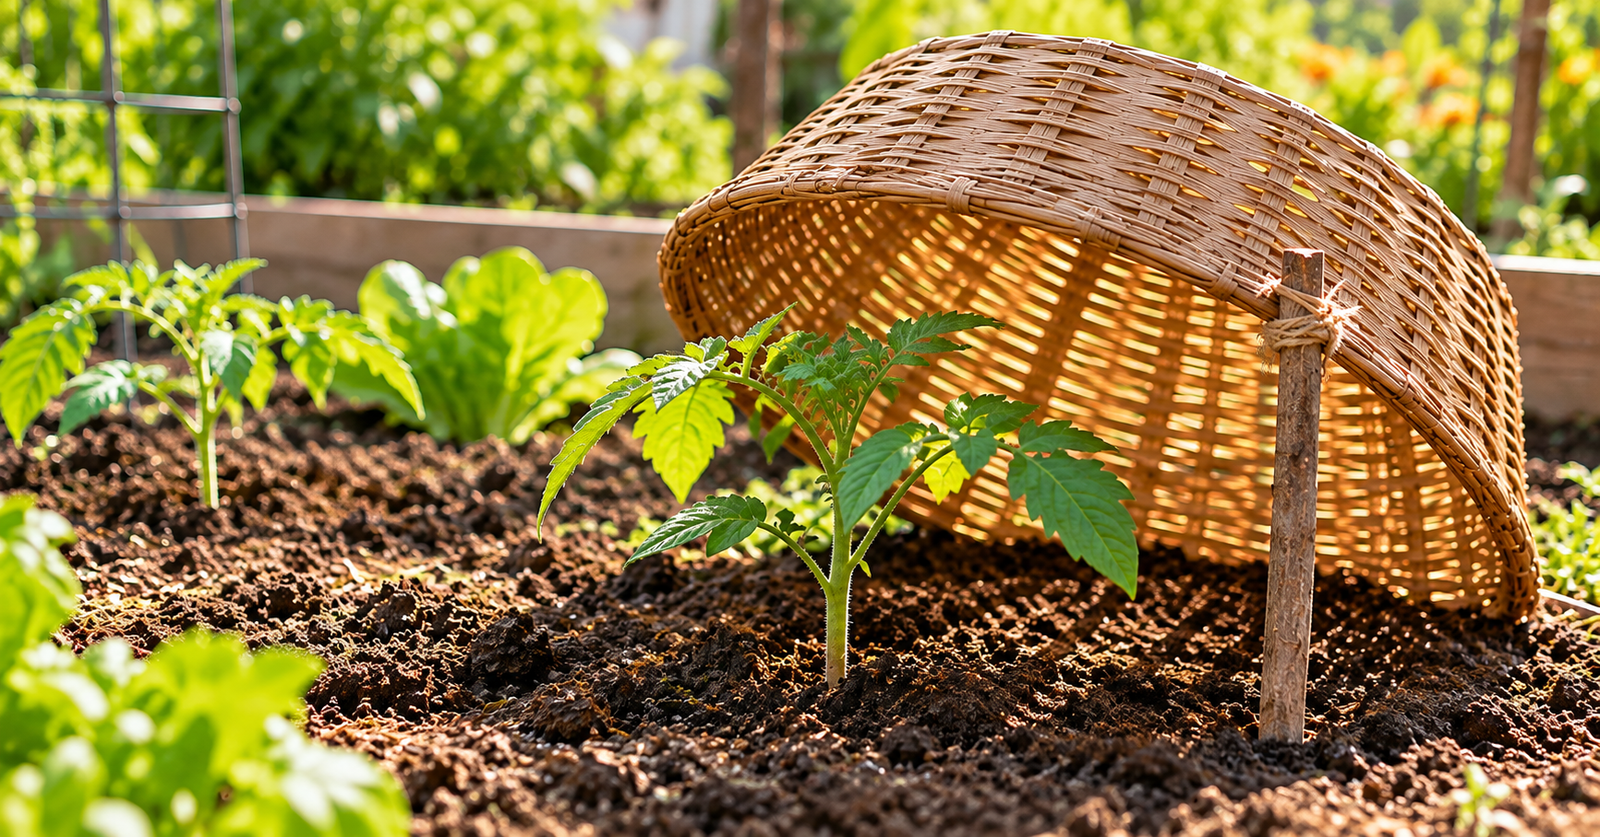
For particularly hot, sunny conditions, or especially tender transplants, some temporary shade — a shade cloth, an upside-down basket, or even a large leaf propped nearby — for the first day or two after transplanting can meaningfully reduce stress while the plant’s roots begin establishing in their new location.
Minimizing Transplant Shock: Key Principles
Handle roots as little as possible. Every bit of root disturbance, even careful and well-intentioned, sets a plant back somewhat as it works to repair and re-establish disrupted root connections with the soil.
Keep the transition as gradual as possible. This applies both to the hardening-off period before transplanting and, where practical, to environmental conditions immediately after — avoiding transplanting right before an extreme heat wave or unexpected cold snap when a milder window is available.
Water consistently in the days following transplant, since newly transplanted seedlings, with roots not yet established in the surrounding soil, are more vulnerable to drying out than either their previous container-grown state or their eventual established garden presence.
Avoid fertilizing immediately after transplanting. Freshly transplanted, stressed roots can be more sensitive to fertilizer, particularly synthetic fertilizers, than established roots — waiting a week or two before beginning a regular feeding routine gives roots time to settle first.
Transplanting Seedlings Started in Different Container Types
Plastic pots and cell trays require the most careful removal, gently squeezing and tipping rather than pulling on the stem.
Peat pots and other biodegradable containers can often be planted with the pot still attached, though tearing away the bottom or scoring the sides beforehand helps roots penetrate through more easily than they would through an intact, undamaged pot wall.
Soil blocks (a seed-starting method using compressed cubes of soil without any container at all) transplant with minimal root disturbance almost by design, since there’s no container to remove roots from in the first place.
Signs of Transplant Shock to Watch For
Wilting, drooping, or temporary leaf yellowing in the days immediately following transplant is common and often resolves on its own within a few days to a week as roots establish. More significant, persistent wilting despite adequate watering, or leaf drop beyond what would be expected from the transition, suggests either more serious root damage during the process or unfavorable conditions (excessive heat, insufficient water) that should be addressed promptly.
The Bottom Line
Successful transplanting comes down to minimizing stress at every step: harden off beforehand, handle roots gently and as little as possible, transplant during a mild part of the day, water immediately and consistently afterward, and hold off on fertilizing until roots have had a chance to settle. Done carefully, most seedlings show only brief, minor stress before resuming active growth within a week in their new location.
Last modified: October 13, 2026