Seed starting has a reputation for being finicky, but most failures trace back to one specific issue: insufficient light. A dedicated grow light setup, chosen and positioned correctly, solves this more reliably than almost any other single change a gardener can make to their seed-starting routine.
What Makes a Good Seed Starting Grow Light
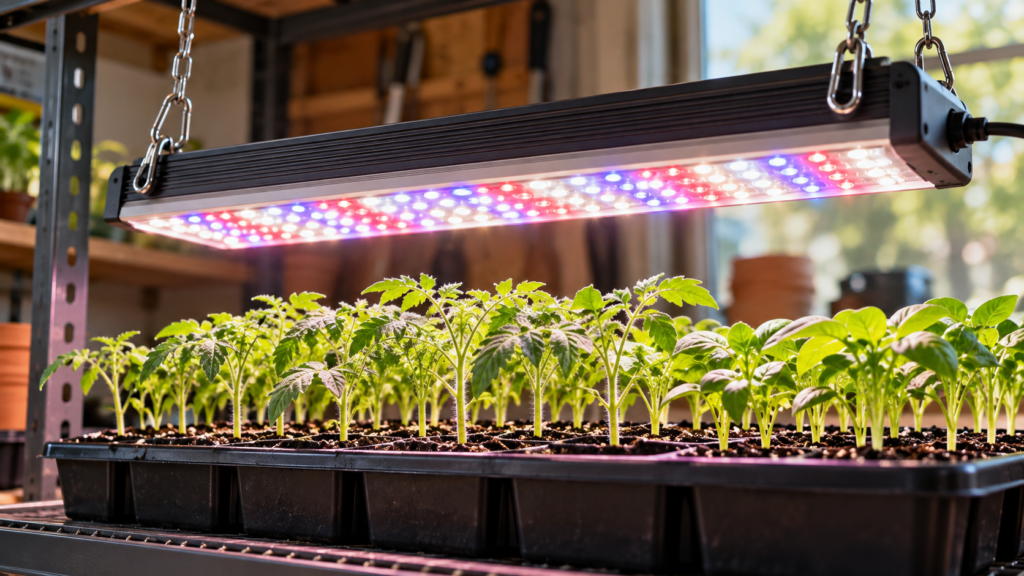
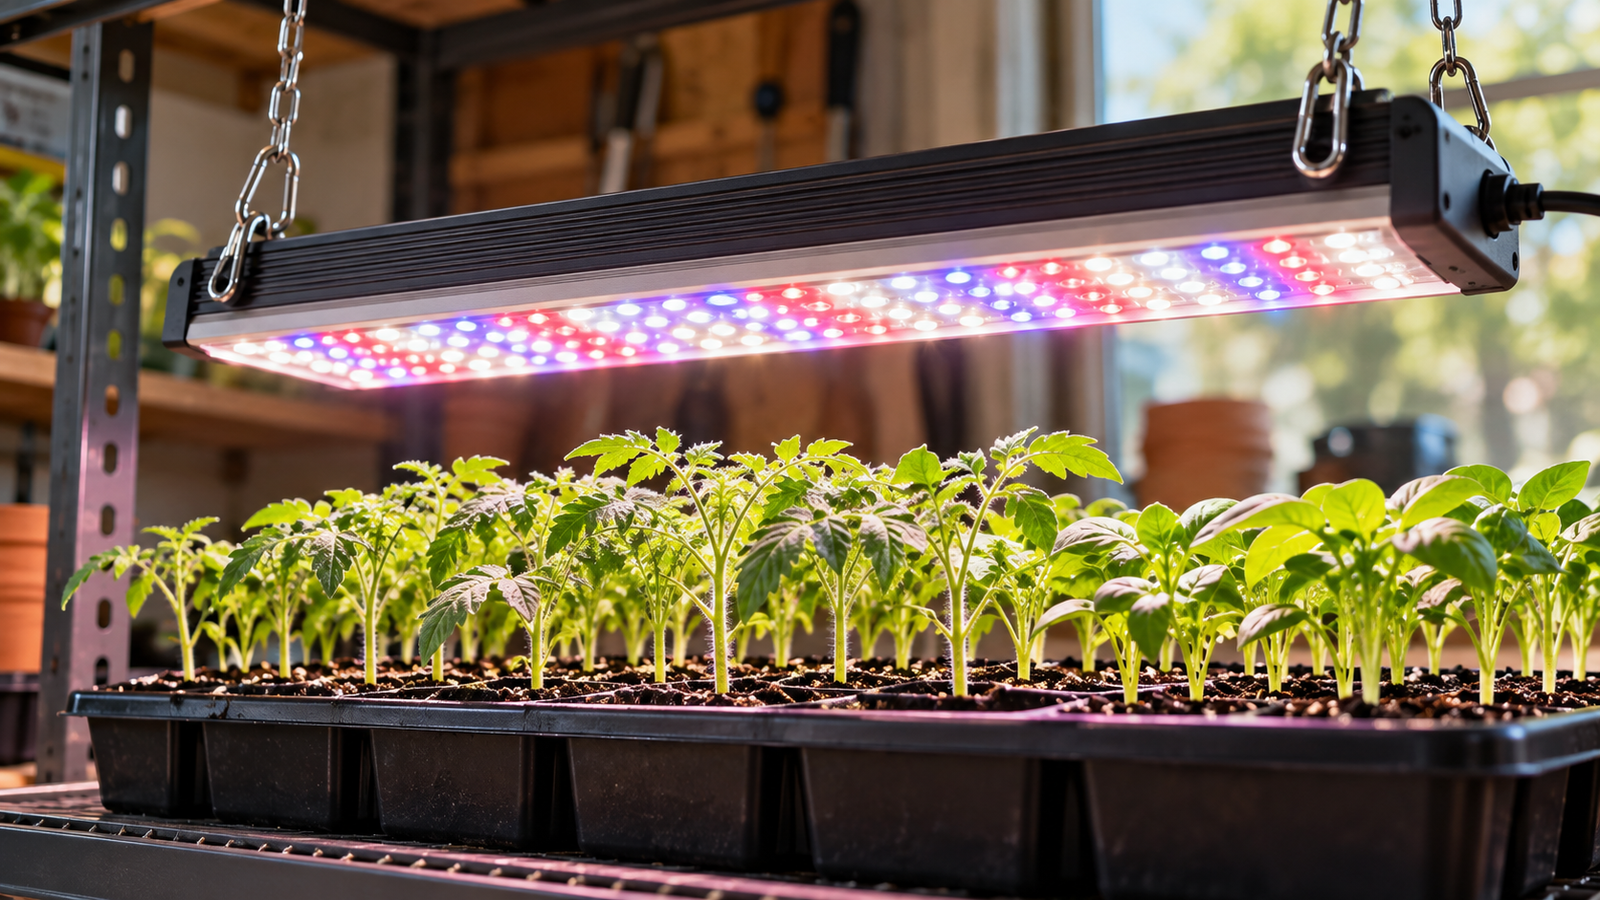
Full-spectrum output is the right choice for seed starting, providing a balanced light closer to natural sunlight than the pink-purple glow of older red/blue-only LED lights. Full-spectrum lights also let you actually see your seedlings’ true color, making it much easier to spot early problems like nutrient deficiency or pest issues than under a color-distorting red/blue light.
Adequate intensity for close-range use. Seedlings need their light source positioned quite close — typically 2–4 inches above the canopy — so a light designed or rated for this kind of proximity, without excessive heat output that could scorch tender young leaves, matters more for seed starting than for general houseplant supplementation, where lights are usually kept farther away.
A shape and size that fits standard seed trays. Long, narrow LED shop-light-style fixtures suit the standard 10×20 inch seed tray format well, illuminating the full tray evenly, whereas a small clip-on light designed for a single houseplant leaves much of a multi-cell tray under-lit.
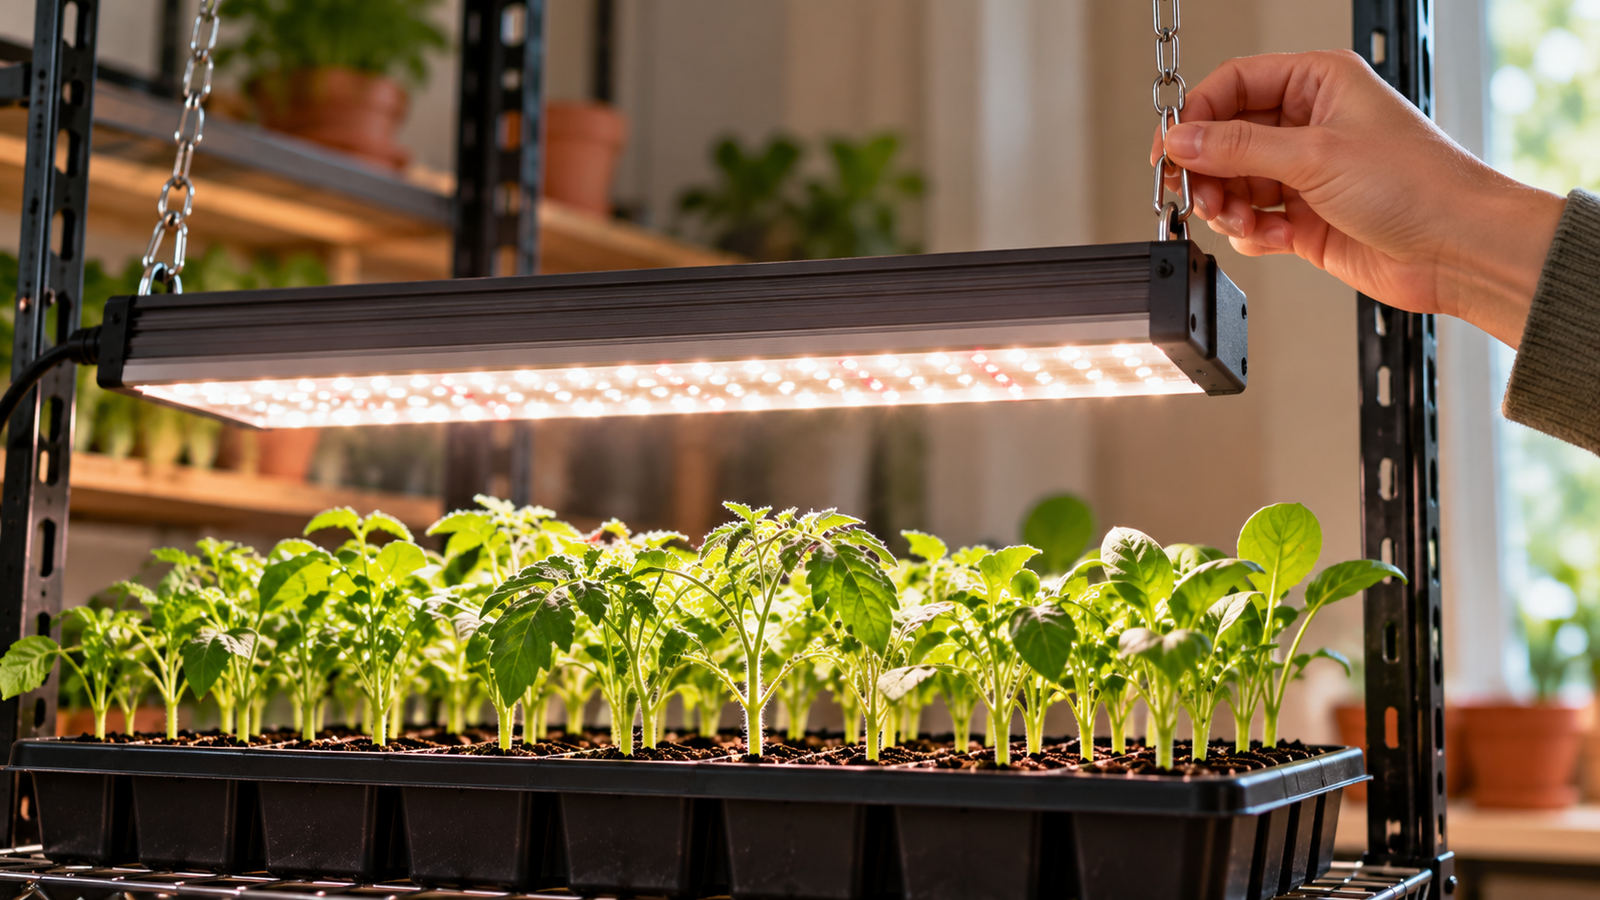
Adjustable height. Since seedlings need the light kept close and raised progressively as they grow, a light with an adjustable hanging or stand mechanism (chains, an adjustable clamp, or a height-adjustable stand) is considerably more practical over the several weeks of a typical seed-starting period than a fixed-position light.
Popular Grow Light Options for Seed Starting
Basic full-spectrum LED shop lights — inexpensive, widely available, and effective for seed starting when hung on adjustable chains a few inches above trays. These are a popular budget-friendly choice among home seed starters and perform well despite their simplicity.
Dedicated seed-starting light panels, sold specifically for this purpose, often come with an adjustable stand built in, removing the need to rig up your own hanging system, at a somewhat higher price point than a generic shop light.
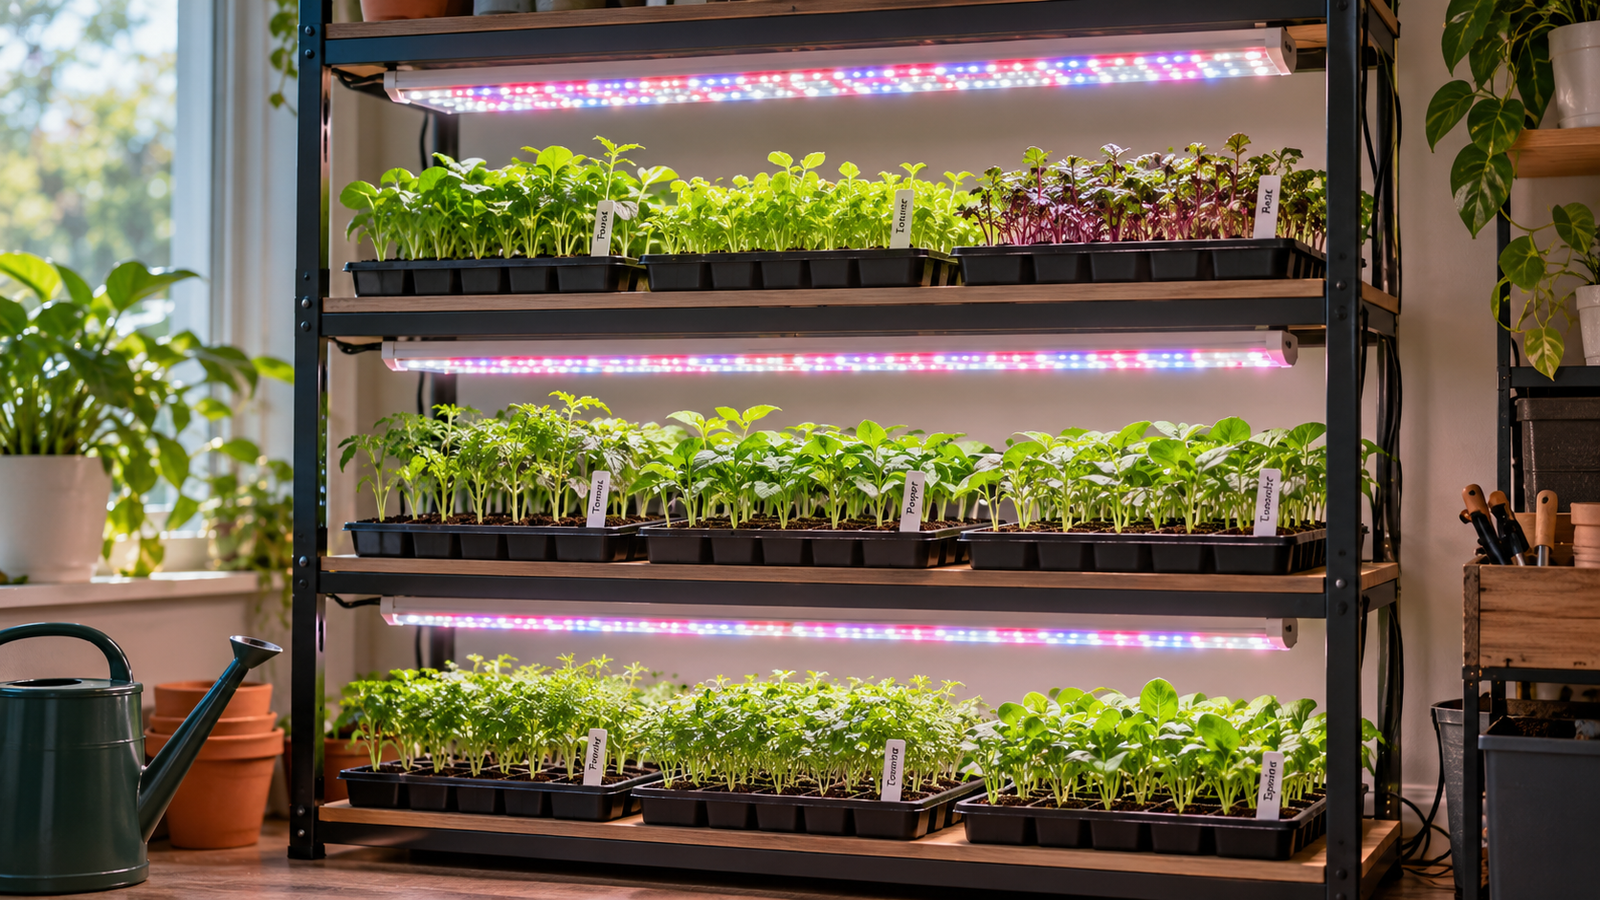
Multi-tier grow light shelving units combine several shelves, each with its own light fixture, allowing multiple trays of seedlings at different growth stages to be managed simultaneously in a single compact footprint — a worthwhile investment for anyone starting a significant number of seeds each year.
Clip-on or small panel grow lights work fine for a single small tray or a handful of pots, though they don’t scale well if you’re starting more than a few trays’ worth of seeds.
Setting Up Your Grow Light Correctly
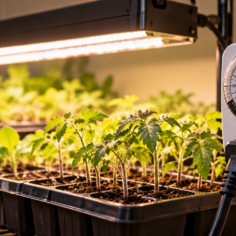
Position the light 2–4 inches above the seedling tray initially, raising it as seedlings grow to maintain that same close distance throughout — a common mistake is setting the light at a fixed height and letting the growing seedlings get closer to it over time (risking leaf scorch) or, more commonly, leaving too much distance from the start, resulting in stretched, leggy growth. Run the light for 14–16 hours daily, managed with an inexpensive outlet timer for consistency rather than manual switching, which is easy to forget on busy days.
Seed Starting Calendar by Zone
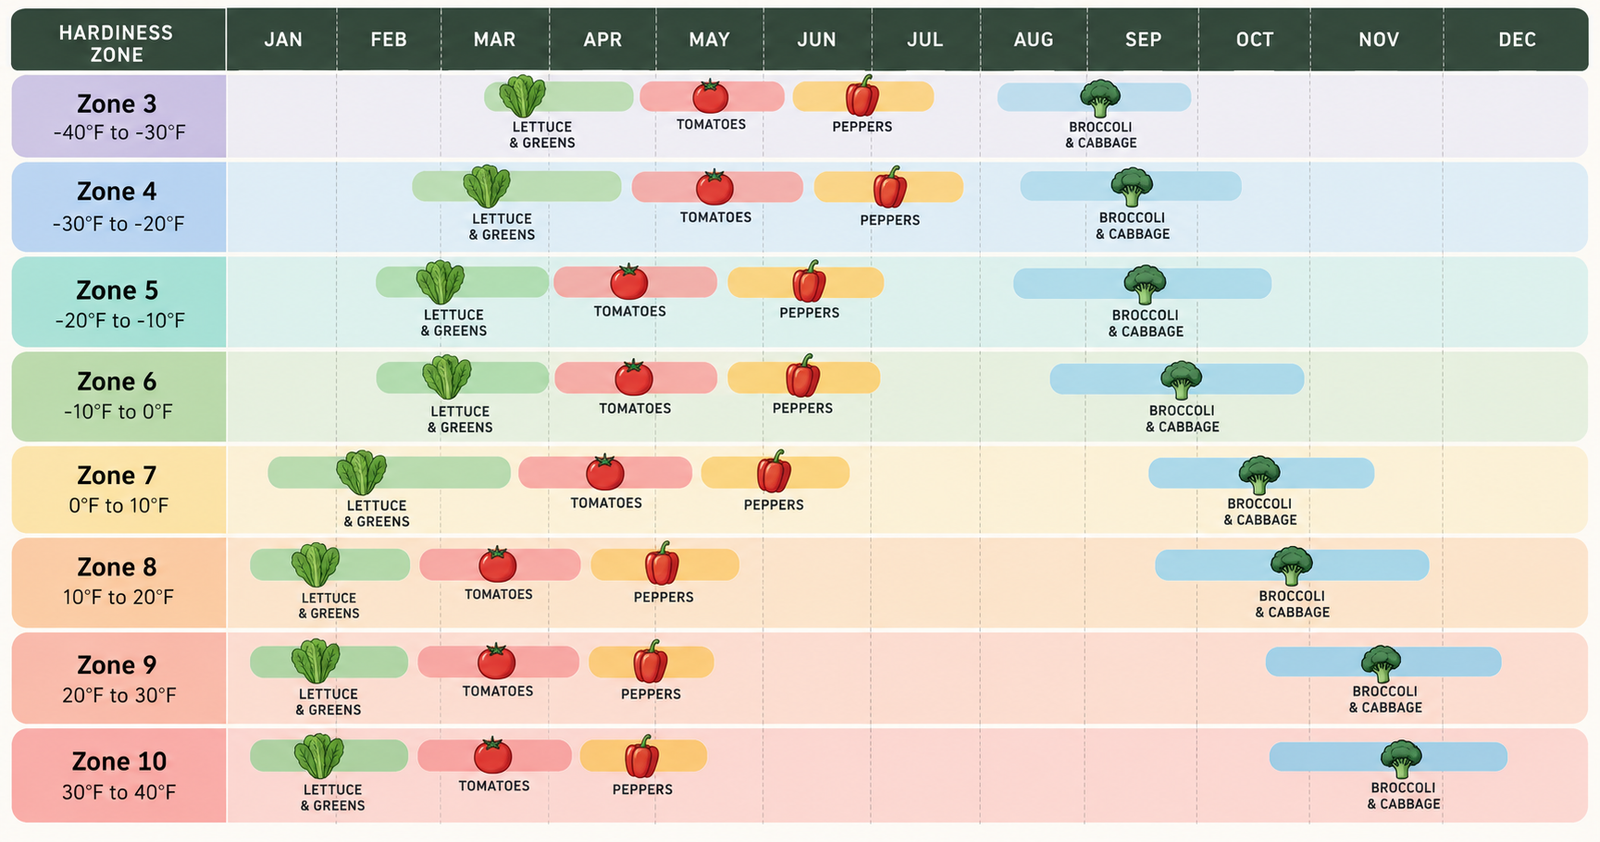
Once your grow light setup is ready, timing seed starting correctly matters just as much. The general rule is to count backward from your area’s average last frost date, using the specific number of weeks recommended on each seed packet (commonly 4–8 weeks for most vegetables, sometimes longer for slower growers like peppers).
Zones 3–4 (last frost typically late May to early June): Start slow growers like peppers and onions indoors in early March; start tomatoes, eggplant in early-to-mid April; direct sow cold-hardy crops like peas in April as soil becomes workable.
Zones 5–6 (last frost typically early-to-mid May): Start peppers and onions in mid-to-late February; start tomatoes and eggplant in late March to early April; direct sow peas and other cold-hardy crops in March to early April.
Zones 7–8 (last frost typically late March to mid-April): Start peppers and onions in January to early February; start tomatoes and eggplant in February to early March; direct sow cold-hardy crops as early as February in milder areas.
Zones 9–10 (last frost typically January to February, or frost-free in some areas): Start peppers and onions in December to January; start tomatoes in January; many warm-season crops can often be direct sown or transplanted quite early, with a second fall planting cycle also feasible given the long growing season.
These ranges are general guidelines — always cross-check against your specific local last frost date rather than relying solely on your broader zone, since actual frost timing can vary meaningfully even within a single zone based on elevation and microclimate.
Adjusting the Calendar Based on What You’re Growing
Fast-maturing crops (lettuce, many herbs) can be started closer to your transplant date, typically 4–6 weeks before, since they don’t need as long an indoor head start as slower growers.
Slow-maturing crops (peppers, celery, onions from seed) benefit from an earlier start, sometimes 8–10 weeks or more before your last frost date, since they’re notably slower to reach transplant size than faster crops like tomatoes.
Direct-sow crops (beans, squash, corn, root vegetables) generally don’t need indoor starting at all and are simply planted directly in the garden once soil has warmed sufficiently after your last frost date, since these particular crops tend to transplant poorly or grow so quickly that an indoor head start offers little advantage.
Common Mistakes That Undo a Good Light Setup
Starting too early relative to your zone’s calendar, resulting in overgrown, rootbound seedlings by the time it’s actually safe to transplant outside, regardless of how good the light setup itself is.
Keeping the light too far from seedlings even with a quality full-spectrum fixture, since distance matters as much as light quality for preventing legginess.
Inconsistent daily light duration, undermining an otherwise well-chosen light through irregular on-off timing rather than a consistent 14–16 hour daily cycle.
The Bottom Line
A full-spectrum LED light, sized appropriately for your seed trays and kept close (2–4 inches) with consistent 14–16 hour daily exposure, addresses the single biggest cause of seed-starting failure: insufficient light leading to leggy, weak seedlings. Pair that setup with a planting calendar timed correctly for your specific hardiness zone and last frost date, and you’ll have sturdy, properly timed transplants ready well before the outdoor growing season begins.
Last modified: November 12, 2026