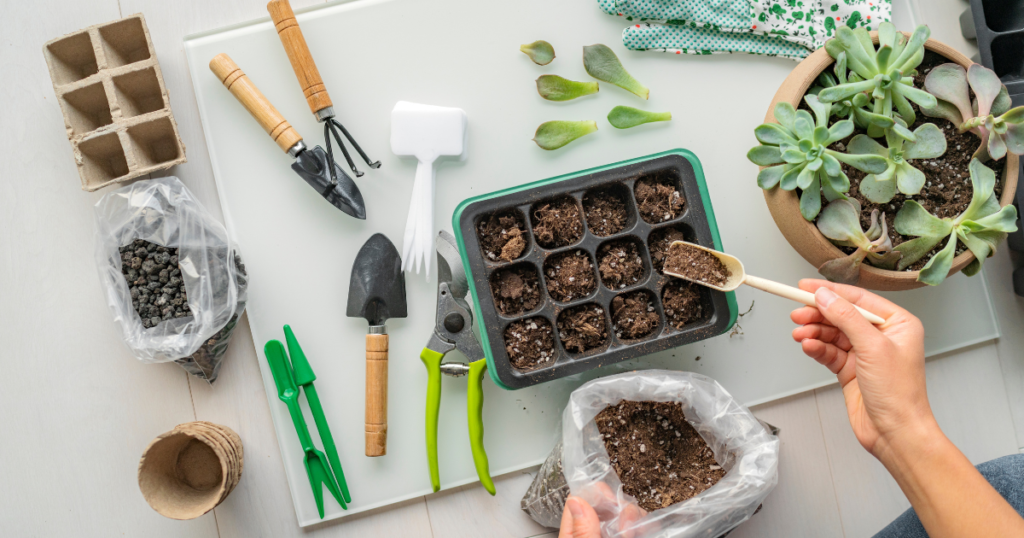
Starting seeds indoors is one of the highest-value habits a gardener can build. It’s dramatically cheaper than buying nursery starts, gives you access to varieties you’ll never find at a garden center, and — for anyone in a short-season climate — it’s often the difference between a tomato harvest and no tomato harvest at all. Here’s how to do it properly from the very first step.
Why Start Seeds Indoors at All
Many vegetables need a longer growing season than outdoor conditions allow, especially in cooler climates. Tomatoes, peppers, and eggplant, for example, need 60–90 days from seed to harvest, plus time to establish before summer heat arrives. Starting them indoors 6–8 weeks before your last frost date gives them a jump start so they’re already established, flowering plants by the time it’s warm enough to move outside.
What You’ll Need
- Seed starting mix (not regular potting soil, and definitely not garden soil) — it’s lighter, sterile, and drains well, which prevents damping-off disease in young seedlings
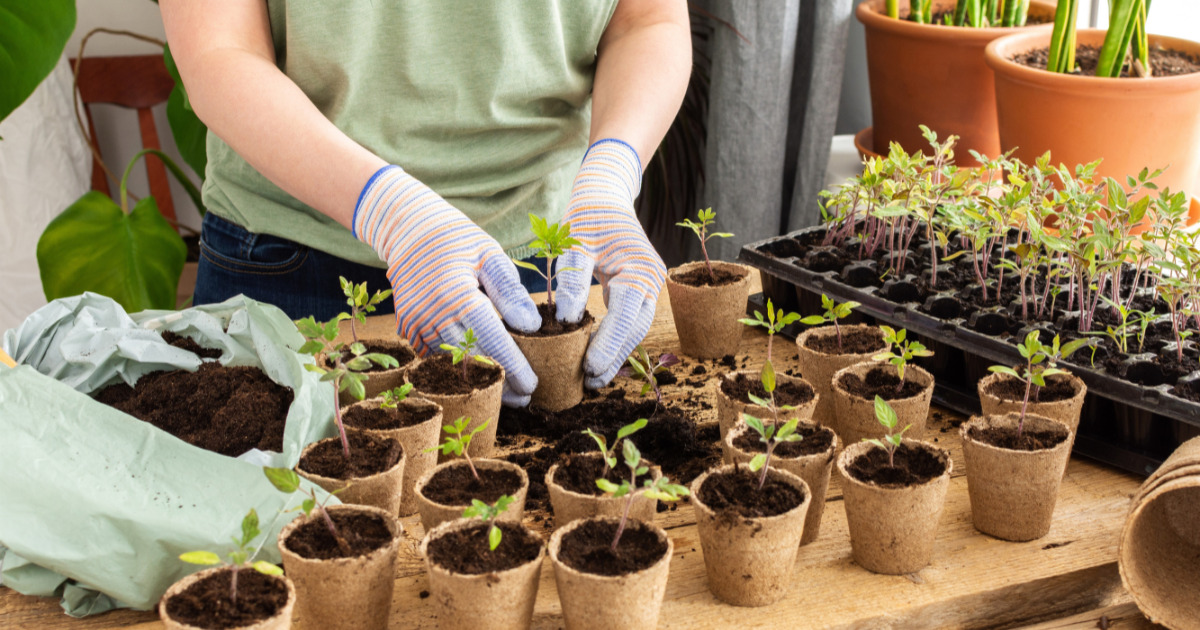
- Containers with drainage — seed trays with cells, repurposed yogurt cups with holes poked in the bottom, or biodegradable pots all work
- A humidity dome or plastic wrap to keep the surface moist until germination
- A light source — a sunny south-facing window works for some crops, but a basic grow light positioned 2–4 inches above seedlings produces noticeably stronger, less leggy growth for most vegetables
- A heat mat (optional but helpful for heat-loving crops like peppers and tomatoes, which germinate faster and more reliably with bottom heat around 70–80°F)
Step-by-Step: Starting Seeds Indoors
1. Work backward from your last frost date
Check your seed packet for the recommended weeks-before-last-frost timing, then count back from your area’s average last frost date. Starting too early leads to leggy, overgrown seedlings stuck indoors too long; starting too late means smaller transplants at planting time. Most vegetables fall in the 4–8 week range.
2. Moisten the seed starting mix before filling containers
Dry seed starting mix is hard to wet evenly once seeds are already planted. Moisten it in a separate container until it holds together when squeezed but isn’t dripping, then fill your trays or pots.
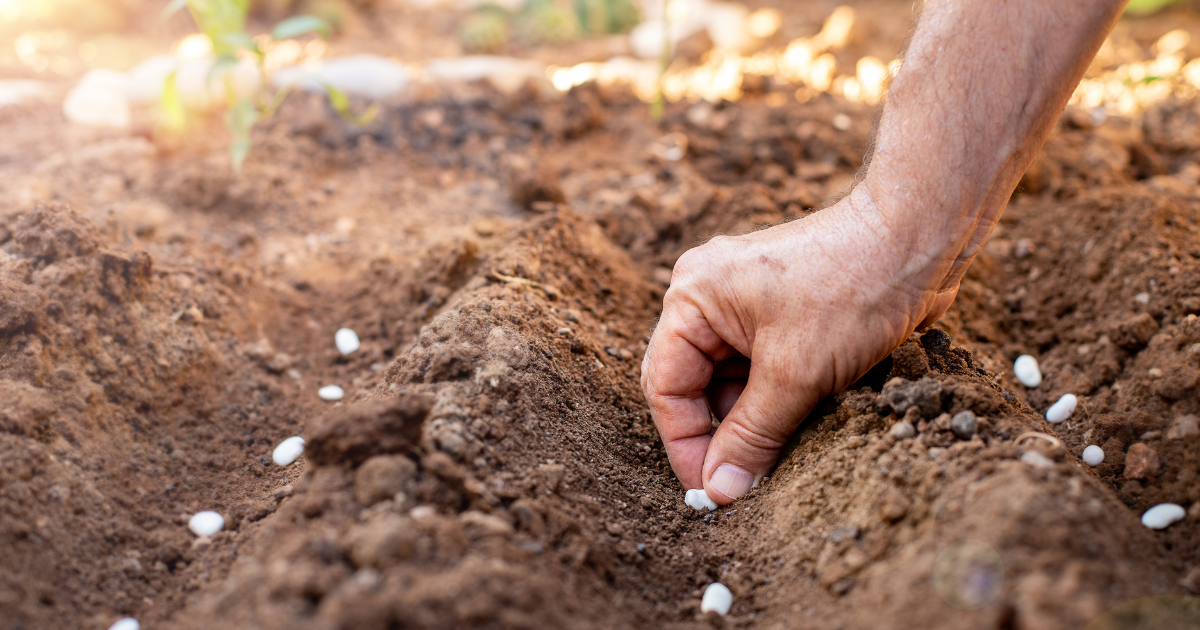
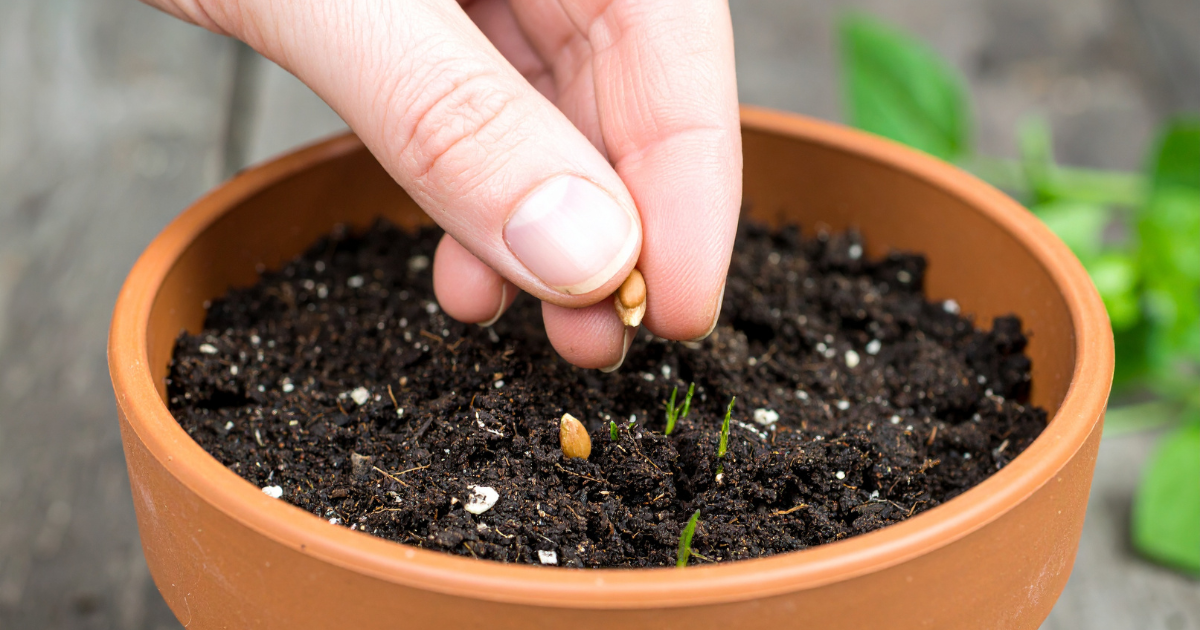
3. Plant at the right depth
A general rule: plant seeds about twice as deep as their diameter. Very fine seeds (like lettuce or some herbs) often need just a light press into the surface with no covering at all, since they need light to germinate — check your seed packet for specifics.
4. Cover and keep warm and humid
Use a humidity dome, plastic wrap, or a clear plastic bag over the tray to trap moisture until germination. Most seeds germinate best between 65–75°F; heat-loving crops like peppers benefit from the higher end of that range, ideally with a seedling heat mat.
5. Remove the cover as soon as you see green
The moment seedlings emerge, remove the humidity dome to prevent damping-off, a fungal disease that thrives in warm, stagnant, overly moist conditions and can wipe out an entire tray of seedlings within days.
6. Get light on them immediately
This is where most beginners lose seedlings to legginess. Seedlings need bright light within hours of emerging, or they’ll stretch upward searching for it, producing weak, floppy stems that struggle to support the plant later. Position a grow light 2–4 inches above the seedlings and raise it as they grow, keeping that same close distance.
7. Thin and water consistently
If more than one seed germinated per cell, snip the weaker seedlings at the soil line rather than pulling them, to avoid disturbing the roots of the one you’re keeping. Water from the bottom when possible (setting trays in a shallow water bath) to keep the surface drier and further reduce damping-off risk.
8. Feed once true leaves appear
Seed starting mix has little to no nutrition, and seedlings need feeding once their first true leaves (the second set, which look like the mature plant’s leaves rather than the rounder initial seed leaves) appear. A diluted balanced liquid fertilizer, at about half strength, works well every one to two weeks.
9. Harden off before transplanting outside
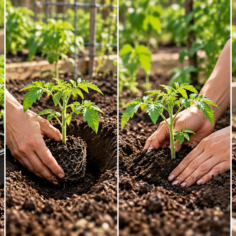
Seedlings raised indoors haven’t developed the tougher tissue needed to handle direct sun, wind, and temperature swings. Over 7–10 days, gradually increase their outdoor exposure — starting with an hour in a shaded, sheltered spot and building up to a full day in the conditions they’ll live in permanently — before transplanting into the garden.
Best Vegetables to Grow Indoors From Seed
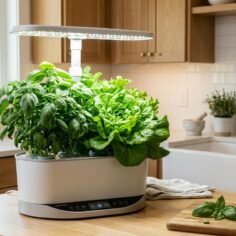
If you’re also interested in growing food indoors year-round rather than just starting transplants for the garden, a few crops handle a fully indoor life well: leafy greens like lettuce and spinach, microgreens, and many herbs. Dwarf tomato varieties bred specifically for containers can also fruit successfully indoors under a strong grow light, though full-sized tomato varieties generally need outdoor space and pollinators to produce well.
Growing Herbs From Seed Indoors
Herbs are some of the most forgiving and rewarding indoor seed-starting projects. Basil, parsley, cilantro, and chives all germinate reliably indoors and can live out their full life on a sunny windowsill or under a small grow light, without ever needing to be transplanted outside. If you’re overwintering potted herbs that spent summer outdoors, bring them in before the first frost, expect some leaf drop as they adjust, and reduce watering slightly since indoor growth slows with lower light levels through winter.
Common Mistakes to Avoid
- Starting too early, leading to overgrown, rootbound seedlings before it’s safe to plant outside
- Using garden soil, which compacts, drains poorly, and can carry disease or pests
- Overwatering, the leading cause of damping-off
- Not enough light, the leading cause of leggy, weak seedlings
- Skipping the hardening-off process, which can shock or kill transplants within days of moving outside
The Bottom Line
Starting seeds indoors isn’t complicated, but it does reward attention to a few key details: the right timing, sterile seed starting mix, consistent moisture without waterlogging, and — critically — enough light the moment seedlings emerge. Get those right, and you’ll have sturdy, ready-to-plant seedlings well before the garden center shelves are even stocked
Before moving your plants outside, review Last Frost Date by ZIP Code: Find Your Planting Date and Hardening Off Seedlings: A Step-by-Step Guide.
Last modified: October 5, 2026
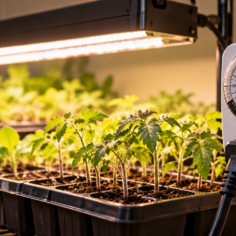



[…] mature plants, but they need that light close and consistent to avoid becoming leggy. A basic full-spectrum LED shop light or dedicated seedling light panel, positioned just 2–4 inches above the seedlings and raised as they grow, works well for most home […]