Drying herbs is one of the simplest ways to make the most of a productive garden, letting you stretch a summer’s harvest of basil, oregano, or thyme into flavor you’ll use all winter. The method you choose mostly comes down to how much time you have and how delicate the herb is.
When to Harvest Herbs for Drying
Timing your harvest affects flavor more than most people realize. Harvest herbs in mid-morning, once dew has dried but before the heat of the day builds — this is generally when essential oil concentration, and therefore flavor, is at its peak. For most herbs, harvesting just before flowering, or as buds are just starting to form, captures the strongest flavor, since the plant redirects energy toward flowers and seeds once blooming begins.
Prepping Herbs Before Drying
Rinse herbs gently if they’re dusty or have soil on them, then pat or spin them thoroughly dry — any lingering moisture significantly slows drying and increases the risk of mold, especially with air-drying methods. Remove any damaged, yellowing, or diseased leaves before starting.
Method 1: Air Drying (Best for Sturdy, Low-Moisture Herbs)
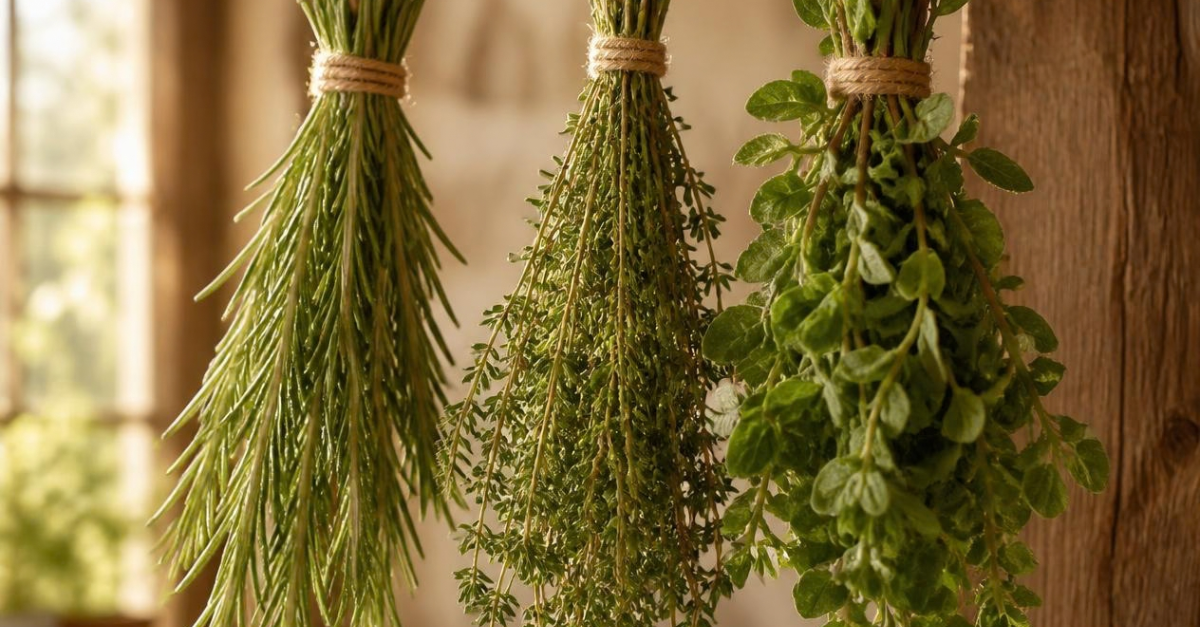
Air drying works well for herbs like rosemary, thyme, oregano, sage, dill, and bay — anything with relatively thin leaves and low moisture content. It’s the lowest-effort method but takes the longest, typically one to two weeks.
How to do it: Gather small bundles of 4–6 stems and tie them with string or a rubber band (rubber bands actually work better than string, since they tighten automatically as stems shrink during drying). Hang the bundles upside down in a warm, dry, well-ventilated space out of direct sunlight, which can fade color and degrade flavor over the drying period. A closet, pantry, or covered porch works well. Check periodically; herbs are fully dry when leaves crumble easily and stems snap rather than bend.
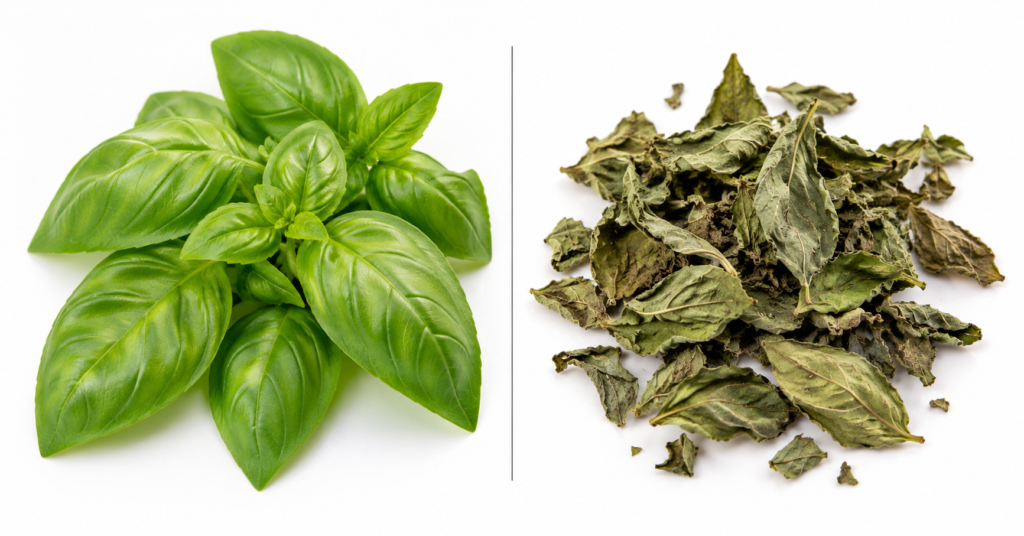
Not ideal for: High-moisture herbs like basil and mint, which are prone to molding before they finish air-drying, especially in humid climates.
Method 2: Oven Drying (Fastest Low-Tech Method)
Oven drying works for nearly any herb and is much faster than air drying, typically taking just a few hours, though it uses more energy and requires more active attention.
How to do it: Spread leaves in a single layer on a baking sheet lined with parchment paper. Set the oven to its lowest possible temperature — ideally under 180°F, since higher heat destroys volatile oils and noticeably dulls flavor. Prop the oven door open slightly to let moisture escape. Check every 15–20 minutes; most herbs finish in 1–4 hours depending on leaf thickness and oven temperature.
Watch for: Herbs can go from perfectly dry to scorched quickly in an oven, so check frequently rather than walking away for long stretches.
Method 3: Dehydrator (Best Balance of Speed and Quality)
A food dehydrator offers the most consistent results of any method, with precise temperature control and even airflow that air drying and ovens can’t match.
How to do it: Arrange leaves or small sprigs in a single layer on dehydrator trays without overlapping. Set to a low temperature, typically 95–115°F for herbs, which preserves flavor and color noticeably better than higher settings. Drying time varies by herb and dehydrator but generally runs 1–4 hours. This method works particularly well for higher-moisture herbs like basil and mint that struggle with air drying.
Method 4: Microwave Drying (Fastest, Best for Small Batches)
This is the quickest method by far, useful when you need a small batch dried immediately rather than planning ahead, though quality can be slightly less consistent than a dehydrator.
How to do it: Place a single layer of leaves between two paper towels and microwave in 30-second bursts, checking after each interval, until leaves are dry and crumbly. Most herbs take 1–3 minutes total. Watch closely — herbs can scorch or even catch fire if left too long in a single interval, so short bursts with frequent checks are essential.
How to Know Herbs Are Fully Dry
Leaves should crumble easily between your fingers, and stems (if drying with stems attached) should snap cleanly rather than bend. Any flexibility or softness means moisture remains, and storing herbs before they’re fully dry is the most common cause of mold developing in storage.
Storing Dried Herbs Properly
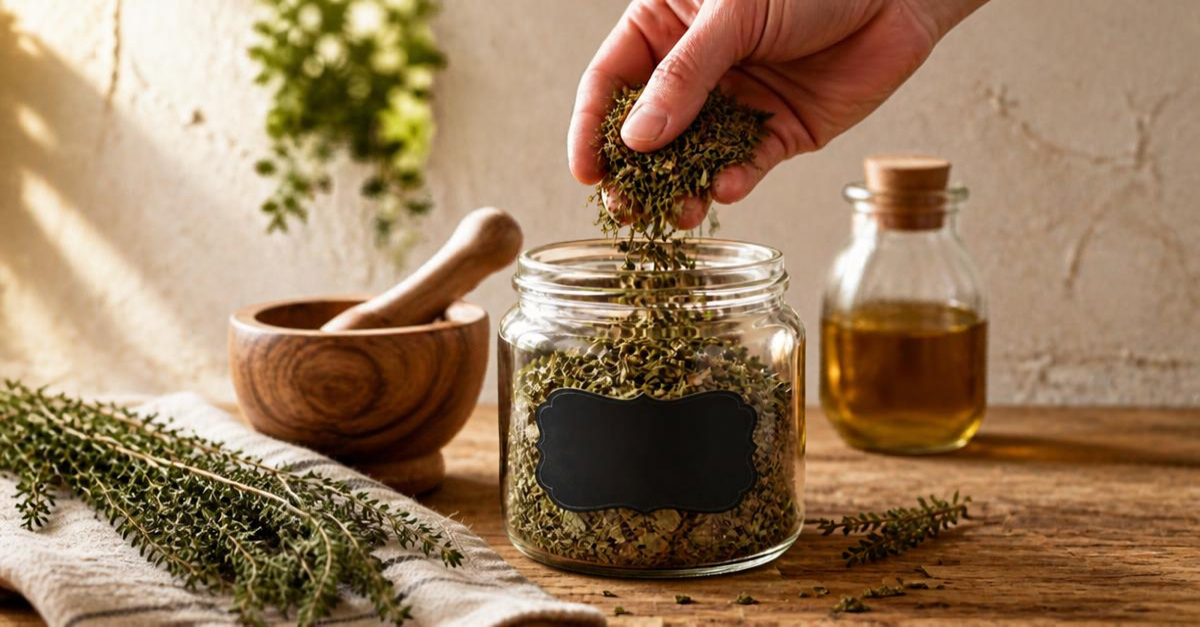
Strip dried leaves from stems (crumbling them at this stage, or waiting until just before use, are both fine — whole leaves generally retain flavor slightly longer than pre-crumbled ones). Store in an airtight container — glass jars work best — in a cool, dark place away from heat and direct light, both of which degrade flavor and color over time.
Properly dried and stored herbs typically retain good flavor for 6–12 months, though they don’t spoil in an unsafe way beyond that; they simply lose potency and flavor gradually, so a good rule of thumb is to smell and taste-test before using anything that’s been stored longer than a year, and replace it if the flavor and aroma have faded significantly.
Which Herbs Dry Best
Dry beautifully: oregano, thyme, rosemary, sage, bay, dill, marjoram — all naturally lower in moisture and hold flavor well after drying
Dry acceptably but lose some character: parsley, tarragon — usable dried, but many cooks find these noticeably better fresh
Better preserved another way: basil and chives in particular lose significant flavor complexity when dried compared to fresh, and many cooks prefer freezing these instead — chopped and frozen in ice cube trays with a little water or oil, or basil specifically preserved as pesto, both hold flavor much closer to fresh than air-dried basil does
The Bottom Line
Air drying is the easiest, lowest-effort method for sturdy, low-moisture herbs like rosemary and thyme, while a dehydrator gives the best, most consistent results across nearly any herb, especially higher-moisture ones like basil. Whatever method you choose, harvest at the right time of day, dry fully before storing, and keep the finished herbs in an airtight container away from light and heat to get the most months of flavor out of your harvest.
For growing fresh herbs and choosing a harvest time, see Indoor Herb Garden Kit: Choosing & Growing and When to Harvest Tomatoes: Signs They’re Ready.
Last modified: October 17, 2026